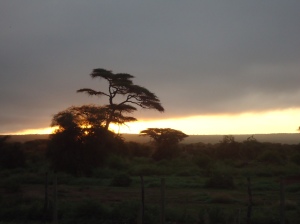
OUTDOOR PHOTOS

5 GREAT TIPS OF SHOOTING OUTDOOR PHOTO

Here are few  photography basics that we most photographers tend to ignore or even do not know about.

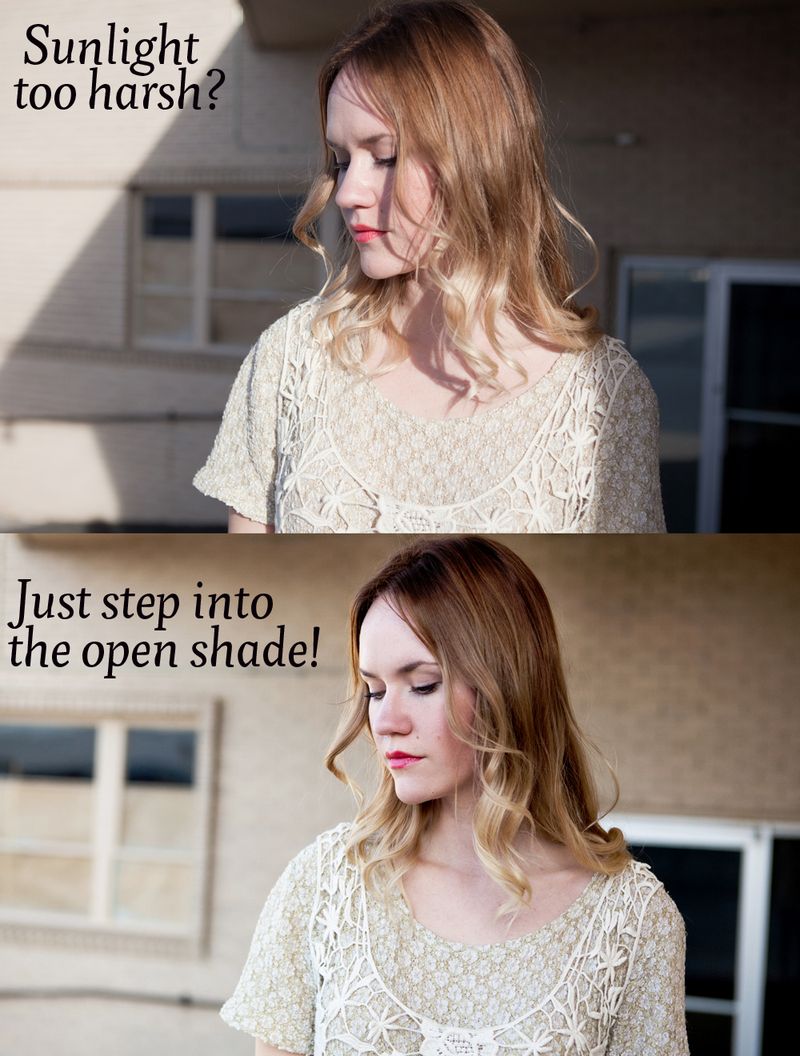
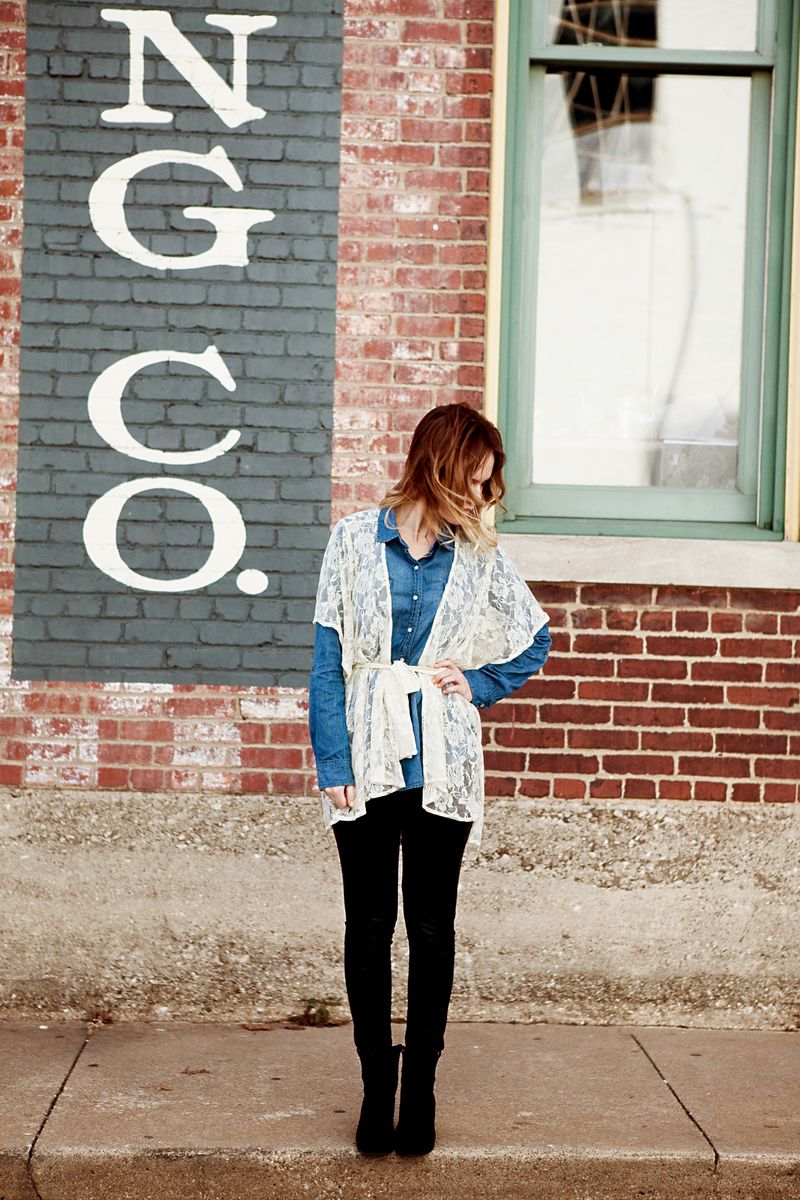
Sun vs. shade1. Look For Shade The sunshine is the most gorgeous natural light source, but depending on the style of shot I am going for, especially in the middle of the afternoon where the sun is throwing harsh light and shadows on my subject, look for shade. Not just any shade, but shade that is close to a light source.
Natural reflector
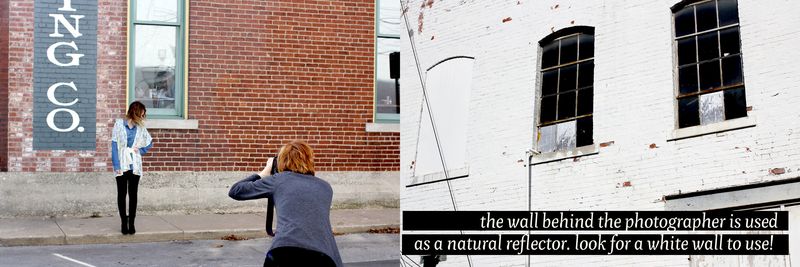
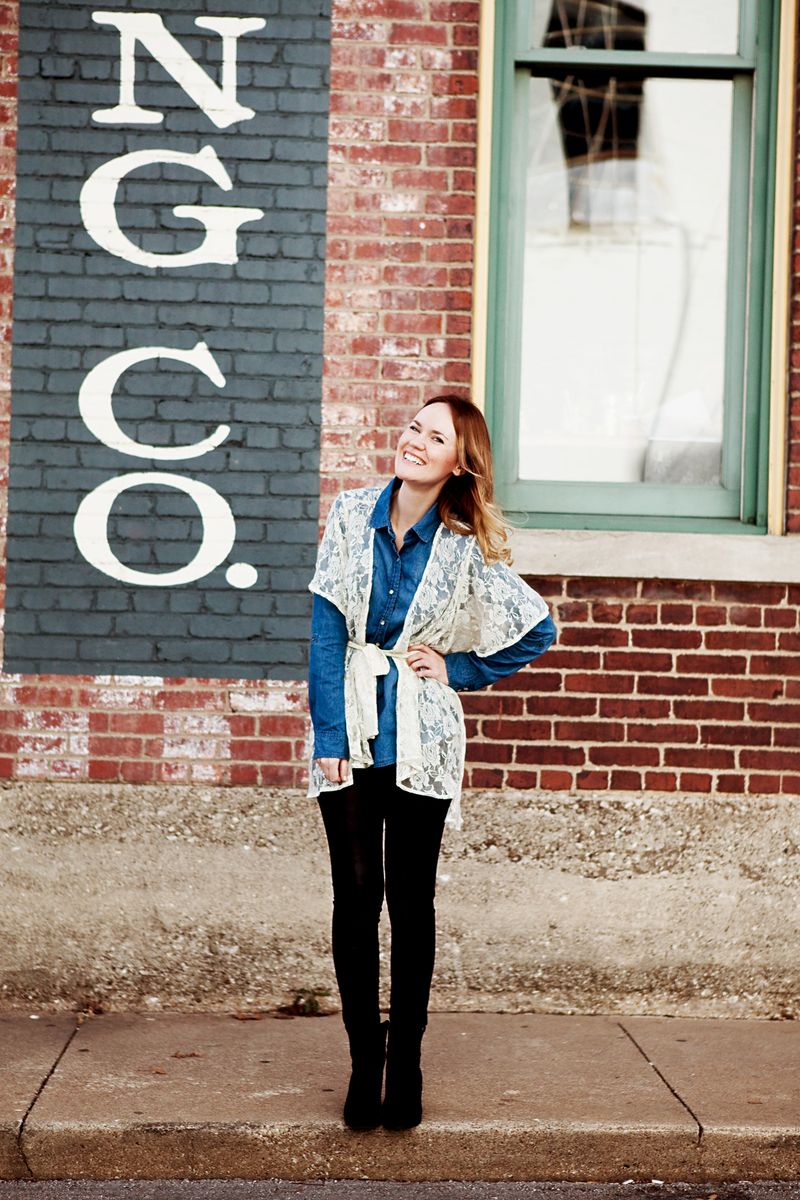
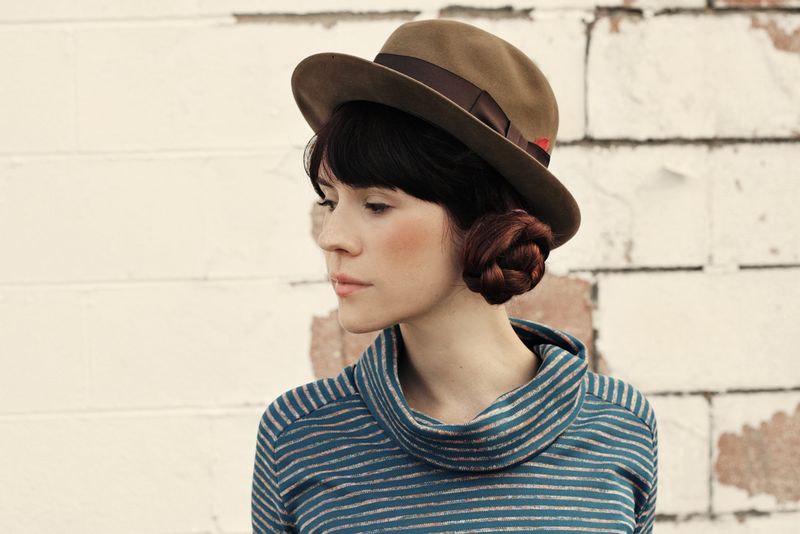
2. Use Your Environment As A Natural Reflector utilizing the environment to reflect beautiful light on my subject. This comes in handy, especially in situations where one does not have a friend on location  to hold a reflector, when needed. As you look for the perfect location,  also look for a light colored wall (usually painted white) directly across from where you would shoot. This opposite wall will then be used as a reflector! Having this extra punch of “light” the my subject automatically brightens the eyes and cast a beautiful glow to the skin.
Natural reflector 2
Natural reflector 3
Magic hour
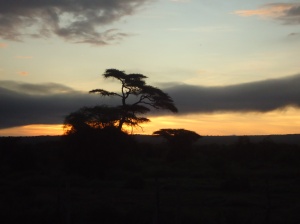
3.  Magic Hour There’s something so magical about the glowing light that the sun produces at certain hours of the day. When you have a scheduled photo shoot,  always  try shoot one hour after sunrise and one hour before sunset, also known as the “Magic Hour”. Of course this isn’t always the case, but “Magic Hour” is a special time of day where everything is just right! During these times the sun is low in the sky, which produces a soft light which is so much more flattering than the harsh midday sun.  This golden light is so fun to play and experiment with- this would be a great time to capture some pretty sun flare as the sun is setting. One thing to keep in mind while shooting during “magic hour” is how fast the light changes- you definitely want to factor in any set up time to ensure you take advantage of the this short, but sweet light.
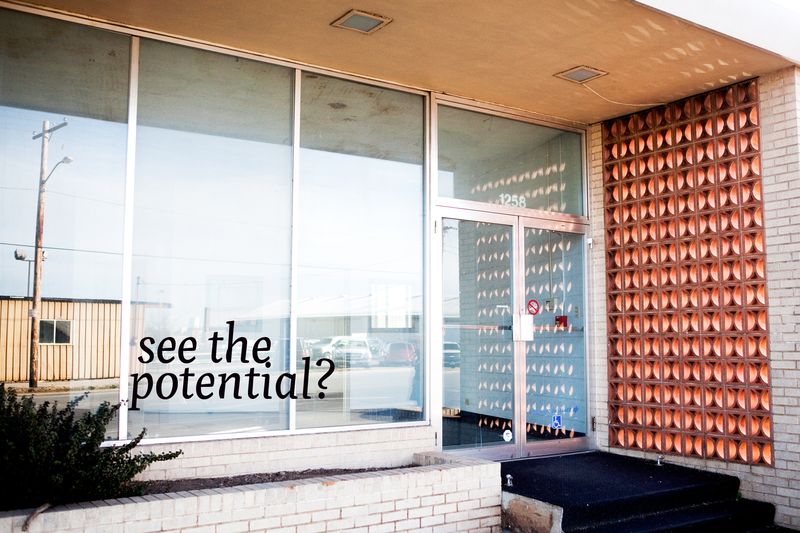
See the potential?
Location-small
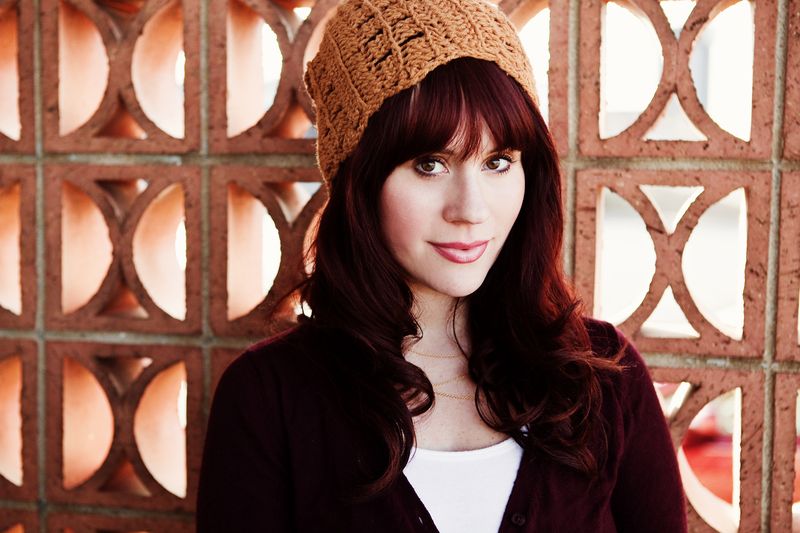
4. Don’t Judge A Location By It’s Environment This is like the saying “don’t judge a book by it’s cover”….same concept. You can certainly find a gem of a location in the roughest looking building, if you look for it.  Choosing a location with diversity is key. Choosing a location truly brings out the inner artists- it’s definitely something that can be learned if strengthened and utilized often. When you are looking for locations, keep your eyes peeled for beautiful details. The entire building may not be something you would use, but sometimes you just need a small wall, sign or doorway to create the perfect photo!
Back lighting
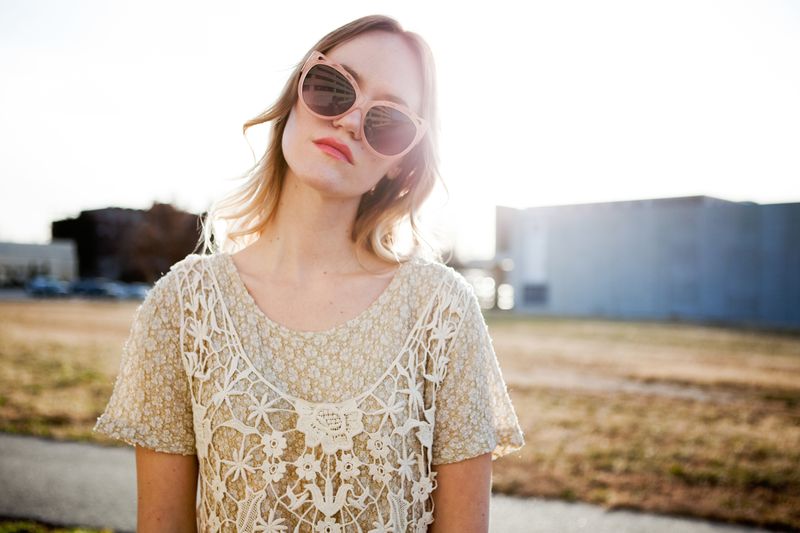
5. Back lighting- Making It Work The perfect lighting situation doesn’t always exist when we need it, but it’s a strength to be able to make any situation for work for you. When the shade cannot be found, another technique is to use your light source to back light your subject. To do this, place your subject directly in front of the sun…and by this I mean their back  is to the sun! This will produce a different style of image, but having light leak through their body, especially the hair, is so pretty. The background will be bright and your subject will pop from the photo!

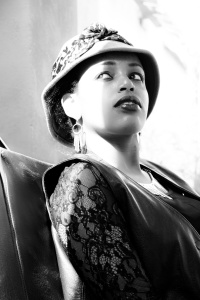
BLACK AND WHITE

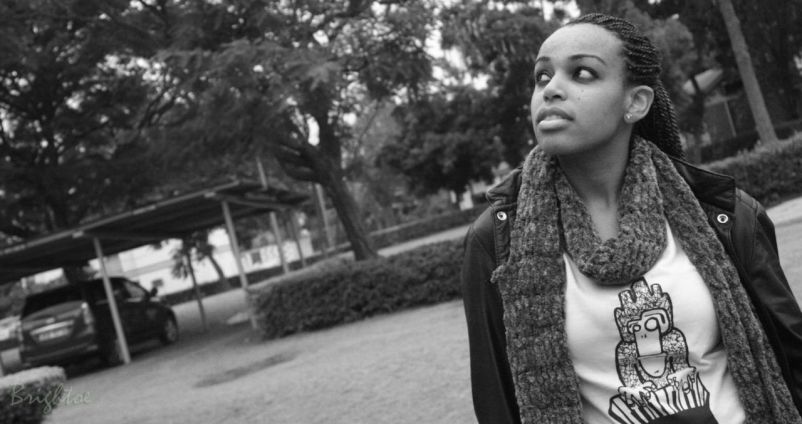
WHY DO BLACK AND WHITE PHOTOS LOOK BETTER

Sometimes, the world looks better in black and white. It just does.

IMG-20150731-WA0013

Here are a few reasons for getting a little obsessed with Black and White

Versatility

“I love that it’s a format that suits almost any type of photography. Portraits, landscapes, urban landscapes, architecture. Not only that, it’s a medium that adapts really well to all lighting situations. Whereas color photography often works best on sunny days or in brightly lit studios – low light just makes a black and white image moody.’ – Sol

No Distractions

“I find that colors can be terribly distracting in some images and can take the focus away from your subject. I do portrait work and find that taking the color out of an image lets the subject speak for themselves. Its raw, it’s stripped back, it’s honest and it allows you to show the true person.” – Shane

Subtlety of Tones

“I love the subtlety of tones that black and white images can have. In a world that often boasts about how many millions of colors a TV or monitor is able to produce – I love that in ‘Mono’ there is such a variety of what can be achieved in a photo. Black and White sounds so boring – but the fact is that there are so many shades in between – I love the challenge of bringing them all out in an image!” – Jim

Variety

“I find the creative process with black and white images is so… artistic. It’s like molding clay – you can shape it into a myriad of shapes. Black and White images can be strong, high contrast and powerful – or they can be so soft, gentle and subtle.” – Belle

Photo by Brite

THE SELFIE STICK TECHNOLOGY

THE SELFIE STICK

A selfie stick is a mono pod used to take selfie photographs by positioning a smartphone or camera beyond the normal range of the arm.The metal sticks are typically extendable, with a handle on one end and an adjustable clamp on the other end to hold a phone in place.Some have remote or Bluetooth controls, letting the user decide when to take the picture, and models designed for cameras have a mirror behind the view screen so that the shot can be lined up.In contrast to a mono pod for stabilizing a camera on the ground, a selfie stick’s arm is thickest and strongest at the opposite end from the camera in order to provide better grip and balance when held aloft.

HOW TO USE A SELFIE STICK

People attach their cell phone or camera to the end of the selfie stick, raise it in front of themselves and then press a button on the stick handle which is connected to the camera, or press a button on a wireless remote, or use the camera’s built-in timer to take a photo after a number of seconds have elapsed.

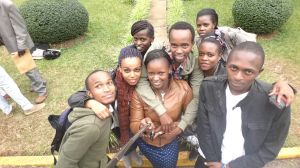
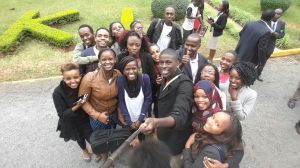
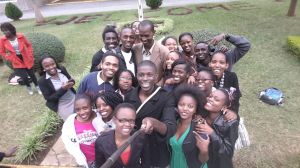
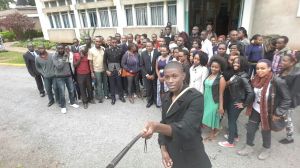
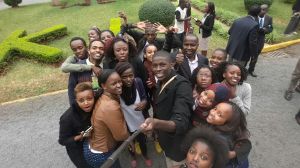
Here are photos i took using the selfie stick.
IMG-20150729-WA0035 IMG-20150729-WA0038 IMG-20150730-WA0005 IMG-20150730-WA0006 IMG-20150730-WA0017 IMG-20150730-WA0014 IMG-20150730-WA0012 IMG-20150730-WA0009 IMG-20150730-WA0020 IMG-20150730-WA0021 IMG-20150730-WA0028 IMG-20150730-WA0031

GUILT FEELING


We have all lived this moment in our lives. When the dust starts to settle on your camera, or you haven’t even unpacked your gear from that photo-shoot you did one month ago. And don’t think the “pros” are immune to these feelings of inadequacy.

Being a professional photographer does not mean photographing every day of our lives. Many of us have other obligations, other jobs, and other ways we earn a living. But after a certain period of time passes without lifting our cameras (and we all have timeframes we hold ourselves to), the feelings of guilt start to creep in.

You know what I have to say about that?Stop.Feeling.Guilty 

 Trust me. You will have moments where you pause and reflect. And then you’ll have days, or weeks, where you do nothing at all with your camera. Or maybe the imported photos you wanted to process and share go untouched on your computer for days or weeks at a time.

Sometimes the guilt reveals itself in the form of envy. It’s difficult to look at social media and not be jealous of some of what we see. Or maybe the guilt comes out of duty as a photographer. We should be using our camera as often as possible … right?

If I have learned anything about anything, it’s that breaks are good, even when they are not self-imposed. Sometimes these periods of photo-inactivity just happen. Maybe the weather is not behaving, or other obligations and priorities get in the way.

Eventually the creative itch will come back, and you’ll scratch it. You’ll do it because you must, because there is no other way. You will carve out time or force yourself to hold a camera with something beautiful in front of it and press the shutter, and you will create. It will get to a point that you just won’t have a choice.

So when the guilt starts nagging, just do your best to shut it up.

Guilt is cancer. Guilt will confine you, torture you, destroy you as an artist. It’s a black wall. It’s a thief. — Dave Grohl

UNUSUAL CRATFS

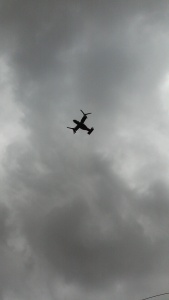
Am from the office yesterday rushing to school because i had a Photography exam. I get to the stage and immediately get to the jav (matatu) and before i know it we already on our way. Just as we get to South B all we hear are noises from outside the unusual aircrafts fill the air. Everyone is trying their luck to take a glimpse and am there struggling the hardest, but unlucky i didn’t even see a thing. So i chuk the jav and start walking to school then lucky enough they are there heading to the airport i just couldn’t resist. They were eye catching and i had to just take a picture, but only managed one which is better than nothing.

20150723_125908

GOALS AND AMBITIONS

They say ignoring your passion is slow suicide. So never ignore what your heart pumps for.Mold your career around your lifestyle around your career. I have always had the interest in Journalism and some things just become set backs. Am very afraid when i get to the camera and so over the weekend i decided to work on my fear and shyness… did a  some sort of photo shoot and i must admit the work piece was great to a pont am looking forward to do more with time. This has made me realize that am actually close to my dreams than i thought.

C360_2015-07-20-21-52-30-462  C360_2015-07-20-21-51-24-265 C360_2015-07-20-18-57-20-125 C360_2015-07-20-18-56-27-120 C360_2015-07-20-18-55-41-127 C360_2015-07-20-18-54-59-402 C360_2015-07-20-18-53-27-417 C360_2015-07-20-18-51-34-788

Photo by: @CyrilCYrax 

SPIFFY GEAR ; LIGHT BLASTER

THE  LIGHT BLASTER

A lighting tool for unique applications – (different versions work with different brands/models of flash – this test was on a Canon flash)

When first handed the Light Blaster, some photographers are a little dubious.  It seems a bit like a kitschy toy not suited for a professional kit.  But, like most things, its usefulness is largely dependent on the person using it and the goals they have in mind.  Once you get your head around the idea, the Light Blaster makes a lot of sense in the creative arsenal of many photographers.

What Is It?
The Light Blaster is a strobe-based slide projector, which uses standard slides or special films from Light Blaster.  On one end, the Light Blaster slides over your strobe. On the other, you mount a lens which is used to focus and project the image. In between, you mount a slide or film which is then projected onto your scene when the strobe fires.


Pros

In Camera Imaging the real power of the Light Blaster is the ability to create very interesting effects, in camera, with a strobe. The effects can mimic filters, layers and composites often added in post. The ability to focus the projected image allows it to be adjusted to be very sharp or intentionally hazy.

New uses for slides makes the Light Blaster presents a very interesting new use for old slides and the creation of new ones. You foresee those who embrace the Light Blaster creating their own stock slides to have on hand to create specific effects and develop a signature style.

Less effects work in post by creating these unique images in camera, the photographer can immediately see if their shot captured the desired effect and adjust as needed. They can also play with focus, placement and size of the projected image, which creates more options for consideration in post. By pushing some of the composting to the set/location, the effects work in post is reduced.


Cons

Best as an “off camera” strobe , the Light Blaster might work best as an off camera strobe.  When mounted on the camera hot shoe, the angle of the projected image is restricted, which limits its creative application. And, the second lens makes the camera very top heavy.

Photo by @CyrilCYrax  C360_2015-07-20-22-28-45-516 C360_2015-07-20-22-29-27-799
FOOD PHOTOGRAPHY

DON’T IGNORE THE BACKGROUND

When I photograph food, I’m very particular about everything in the frame. The tabletop, textiles, colors, and dishes all play a role to bring a the scene together. I typically set everything up ahead of time, even before the food is cooked, so that things are ready to go well ahead of time.
Once the food is on the plate, I don’t stop paying attention to those details.  In a recent shoot, I had a small cup of coffee in the background of my scene. I filled it up with coffee and a little bit of cream, and placed it in the background of the frame. After previewing my first few frames, I noticed that the coffee in the cup was not visible! It was there, but at the angle I was positioned I couldn’t see it.

I immediately added a small amount of coffee to the cup to balance it out. That tiny little bit of coffee completed the photo! Without it I would have had too much white area in the corner of my frame.


KENYA’S RUSH HOUR

STATE OF AFFAIRS IN KENYA’S BUSY SUPER HIGHWAY DURING THE RUSH HOUR.

It takes at most 30 minutes or even less to get to the Nairobi Central Business Area during other hours of the day but during the rush hour we tend to see the people who commute taking even two hours to get to their work places. I have never clearly understood why we always have it but as the name suggests its typically rush hour and almost all of us are victims of the traffic jam. That is Kenya during the rush hour early morning.