A lighting tool for unique applications – (different versions work with different brands/models of flash – this test was on a Canon flash)
When first handed the Light Blaster, some photographers are a little dubious. It seems a bit like a kitschy toy not suited for a professional kit. But, like most things, its usefulness is largely dependent on the person using it and the goals they have in mind. Once you get your head around the idea, the Light Blaster makes a lot of sense in the creative arsenal of many photographers.
What Is It?
The Light Blaster is a strobe-based slide projector, which uses standard slides or special films from Light Blaster. On one end, the Light Blaster slides over your strobe. On the other, you mount a lens which is used to focus and project the image. In between, you mount a slide or film which is then projected onto your scene when the strobe fires.
Pros
In Camera Imaging the real power of the Light Blaster is the ability to create very interesting effects, in camera, with a strobe. The effects can mimic filters, layers and composites often added in post. The ability to focus the projected image allows it to be adjusted to be very sharp or intentionally hazy.
New uses for slides makes the Light Blaster presents a very interesting new use for old slides and the creation of new ones. You foresee those who embrace the Light Blaster creating their own stock slides to have on hand to create specific effects and develop a signature style.
Less effects work in post by creating these unique images in camera, the photographer can immediately see if their shot captured the desired effect and adjust as needed. They can also play with focus, placement and size of the projected image, which creates more options for consideration in post. By pushing some of the composting to the set/location, the effects work in post is reduced.
Cons
Best as an “off camera” strobe , the Light Blaster might work best as an off camera strobe. When mounted on the camera hot shoe, the angle of the projected image is restricted, which limits its creative application. And, the second lens makes the camera very top heavy.
Photo by @CyrilCYrax 
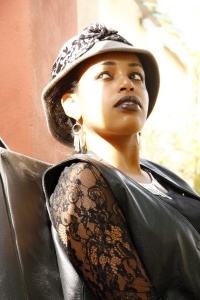
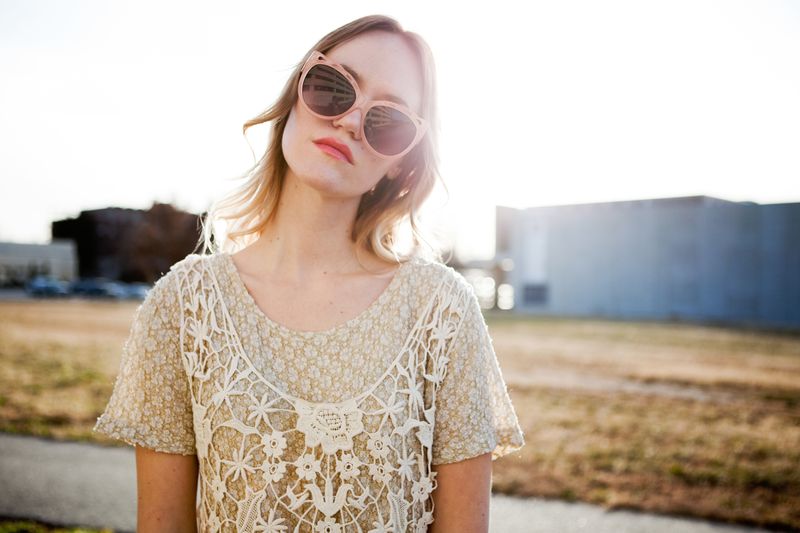
 1. Look For Shade The sunshine is the most gorgeous natural light source, but depending on the style of shot I am going for, especially in the middle of the afternoon where the sun is throwing harsh light and shadows on my subject, look for shade. Not just any shade, but shade that is close to a light source.


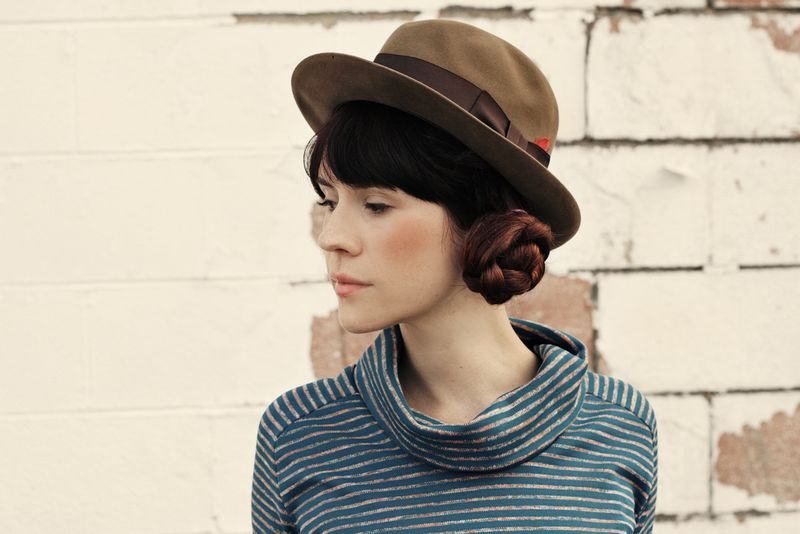

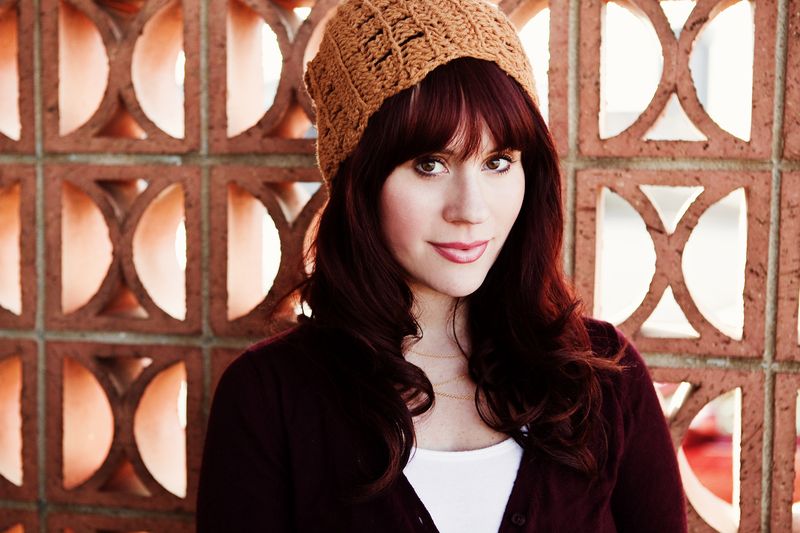


 Modern lenses and sensors have become incredibly good. Not a single manufacturer is making a terrible camera or a terrible lens. They’re all highly capable of resolving lots of details but the only way that they can be taken even further these days is by using artificial lighting like a flash. Yes, this has always been true, but even more so now than ever. Why? Because if two photos are shot of the same exact subject (we’re not talking about charts; charts are for people who sit there in labs all day and photographers don’t do that) and scene, it would be very tough for anyone to tell the difference between the two. Further, if you add artificial lighting in the same exact way, it will become even tougher to do.So what does that mean?The only way to actually take the absolutely fullest advantage of those expensive lenses that you’re buying is to use artificial lighting. Granted, we’re not talking about landscape photographers–you folks need to go to large and medium format to get better results. But when it comes to the resolution of monitors and screens, cameras are generally out-resolving them by far.But instead, the concert photographer wanting to some day become a music photographer and shoot band portraits will need to learn how to manipulate lighting to make it do what they want.Aspiring wedding photographers that want sharper photos need to learn the ins and outs of TTL, bouncing a flash for maximum success and coverage, and learning how to mix ambient and flash light together.Portrait photographers will need to work with their subjects on putting together a beautiful set of images and making them pop from the image by using lighting.Lighting, more so than any other technique, will differentiate you as a photographer from many of the others out there. Even if you’re not as strong at marketing yourself, you’ll have a chance at creating images that can speak for themselves.Lighting, combined with your own unique creative vision and ideas, will take you ever further than working without it and waiting for specifics to happen naturally during the day or night.


